I recently indulged and treated myself to gel nails. If you aren't familiar with these, basically they are synthetic nails that can substitute for natural nails that are either too short, unevenly textured, or nails that have short nail beds. There are several types of faux nails to choose from, and this was my first experience with gel nails. I have been extremely satisfied with my choice to try gel nails. They are very shiny and because the gel polish is cured by a UV light, it doesn't chip or lose its shine. It has been eleven days since I had my nails done, and they are starting to look pretty shabby. It is usually recommended that you fill your nails every two to three weeks. Now you may be wondering why mine haven't lasted longer. I have been blessed with extremely fast growing nails. Even when I paint my own natural nails they grow out super quickly. I kind of forgot about the fact that my nails grow at the speed of light when i chose to get faux nails, but nonetheless I do not regret my choice. Instead of heading into the nail salon after practically a week only to spend money on having them filled, I decided to take matters into my own hands (oh god i love cheesy puns) and give my nails an at-home-makeover. To find out how I prolonged the life of my faux nails keep reading!
I was given a fabulous tip by the manicurist who gave me my beautiful "full set" as they call it in the salon. He recommended that if I decided to paint over my gel nails to make sure to avoid painting the grown out natural nail and the cuticle. At the time he gave me the advice I hadn't even considered painting over my beautiful french manicure! Not until I saw the way the nail growth effected the look of my gel nails did i consider painting over them.
 |
| fresh gel nails |
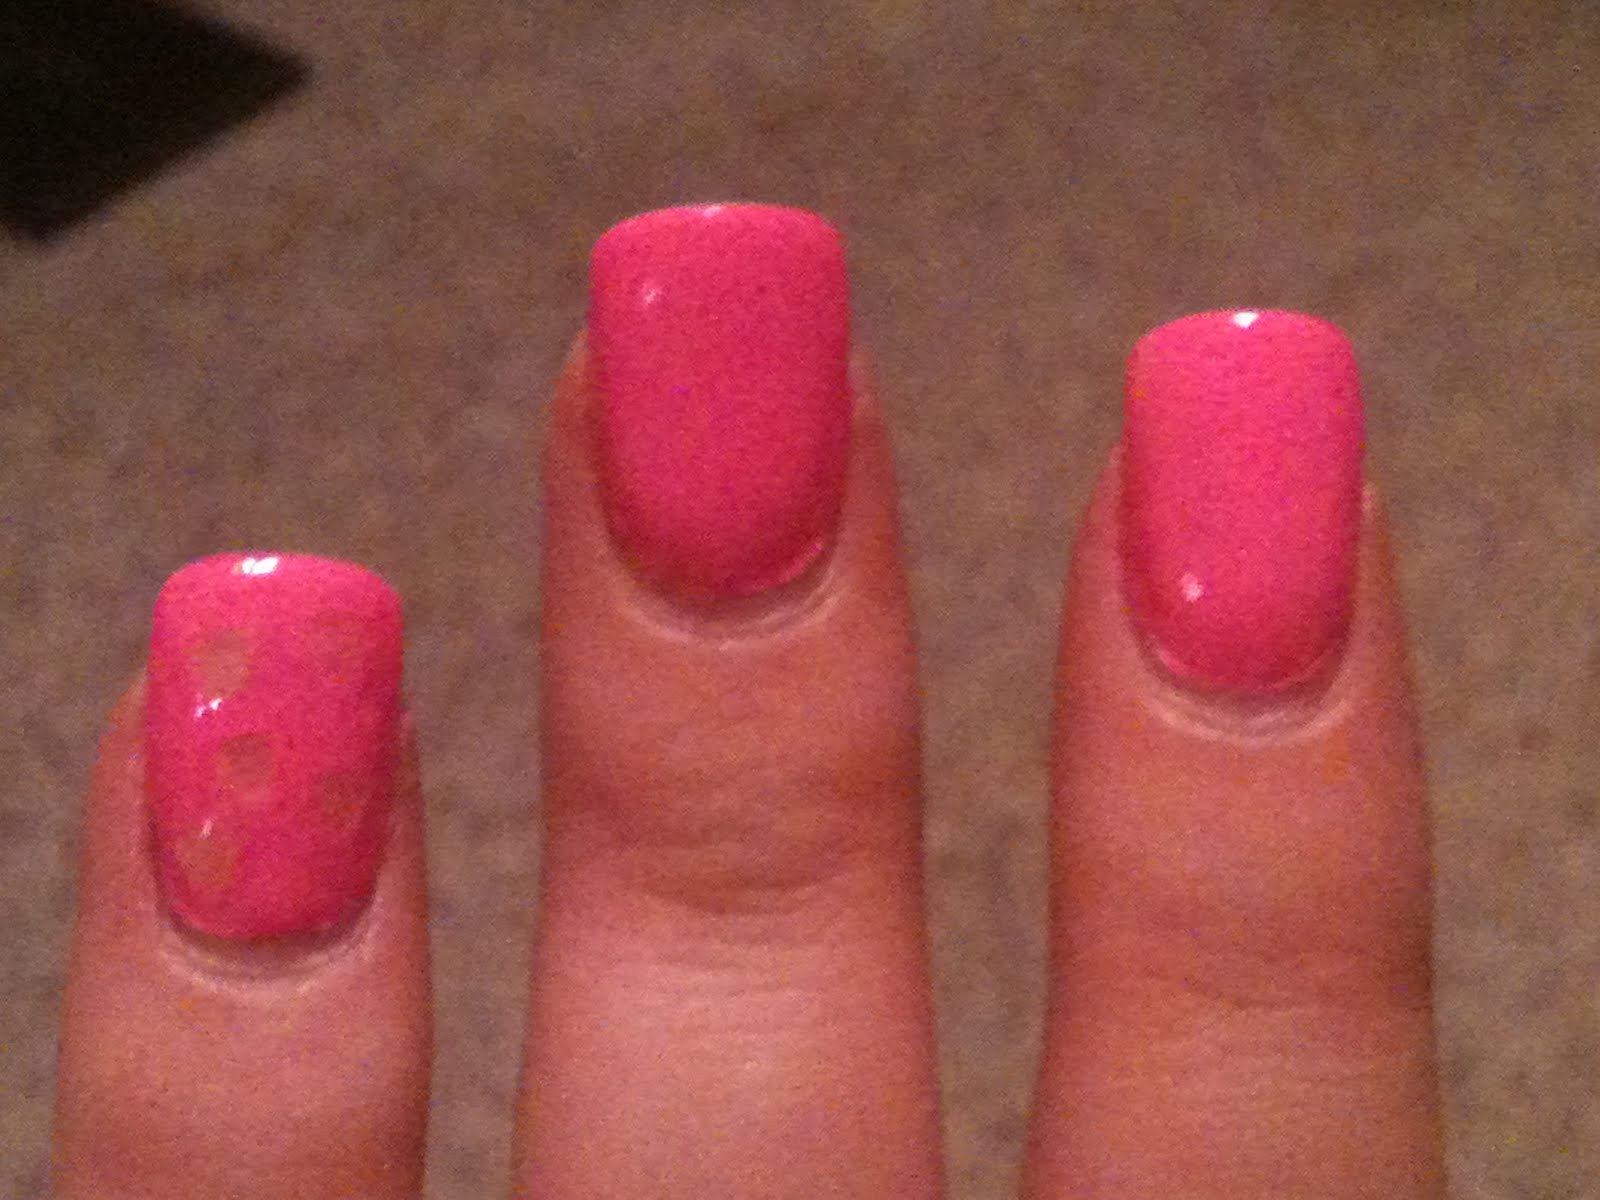
I recently purchased a gorgeous Barbie pink by Orly called "Fancy Fuchsia." Currently it is my favorite color from my pretty expansive polish collection. I chose this as the color I would cover up my french manicure with. I usually start with a base coat when I paint my nails, but because I had the gel overlay I decided to skip that step and go straight to the color. After two coats of "Fancy Fuchsia" I allowed my nails to dry before I proceeded with a little flair.
I am really excited about the second polish I used. It is definitely one of the more precious polishes I own. "Love Your Life" by Nicole is a sweet little polish with heart shaped champagne pink flakes floating amongst hundreds of glitters. I used this polish to adorn my left and right ring fingers. I felt that putting these pretty little shiny hearts on all ten fingers would be a little overboard. Finally I topped all ten nails with Seche Vite top coat and let them dry.
So this is what I got for my final look and I'm pretty pleased.

I kind of feel like I just stepped out of the salon. I probably won't be getting my nails filled for about another week, and I think this will last me until then. I hope my tips help preserve your faux nails and lengthen the time in between fills. Good luck guys and dolls!
Bella
No comments:
Post a Comment